DIY Table Over Washer and Dryer: A Step-by-Step Guide
Building a table over your washer and dryer can be a smart and efficient solution to maximize space in your laundry room. Not only does it provide additional counter space, but it can also enhance the overall functionality and aesthetics of the area. Here's a step-by-step guide to help you create a custom table that perfectly fits your needs:
Materials You'll Need:
- Plywood (3/4-inch thickness recommended)
- 2x4 lumber (for the frame)
- Wood screws
- Wood glue
- Sandpaper
- Paint or stain (optional)
Step 1: Plan the Dimensions
Measure the width and depth of your washer and dryer. The table should be slightly larger than the appliances to provide enough overhang for a comfortable working surface. Determine the desired height of the table, ensuring it's ergonomic and suitable for your needs.
Step 2: Build the Frame
Cut the 2x4 lumber according to the dimensions you planned. Assemble the frame using wood screws, ensuring it is sturdy and square. The frame should be the same size as the plywood you will use for the tabletop.
Step 3: Cut the Plywood
Measure and cut the plywood to the desired size, which should match the frame's dimensions. Use a circular saw or jigsaw for precise cuts. Smooth the edges of the plywood using sandpaper to remove any splinters or rough spots.
Step 4: Attach the Plywood
Apply wood glue to the top of the frame and carefully place the plywood on top. Secure the plywood with wood screws, countersinking them slightly below the surface. Ensure the tabletop is level and securely attached to the frame.
Step 5: Reinforce the Table (Optional)
For added stability, you can reinforce the table by adding additional supports underneath. Cut 2x4 lumber to the appropriate lengths and attach them to the frame's underside using wood screws and glue. This will help distribute the weight evenly and prevent sagging.
Step 6: Finishing Touches
Sand the entire table to remove any remaining rough edges or imperfections. If desired, you can apply paint or stain to match the existing décor of your laundry room. Allow the finish to dry completely before placing items on the table.
Tips for Customization:
* **Add drawers or shelves:** Incorporate drawers or shelves into the table design for additional storage space. * **Extend the countertop:** Extend the countertop beyond the washer and dryer for a larger working surface. * **Use decorative trim:** Add decorative trim to the edges of the table for a more polished look. * **Upgrade the appliances:** Consider upgrading to a washer and dryer with stacked units to maximize space utilization. * **Install a backsplash:** Install a backsplash behind the table to protect the wall from water splashes.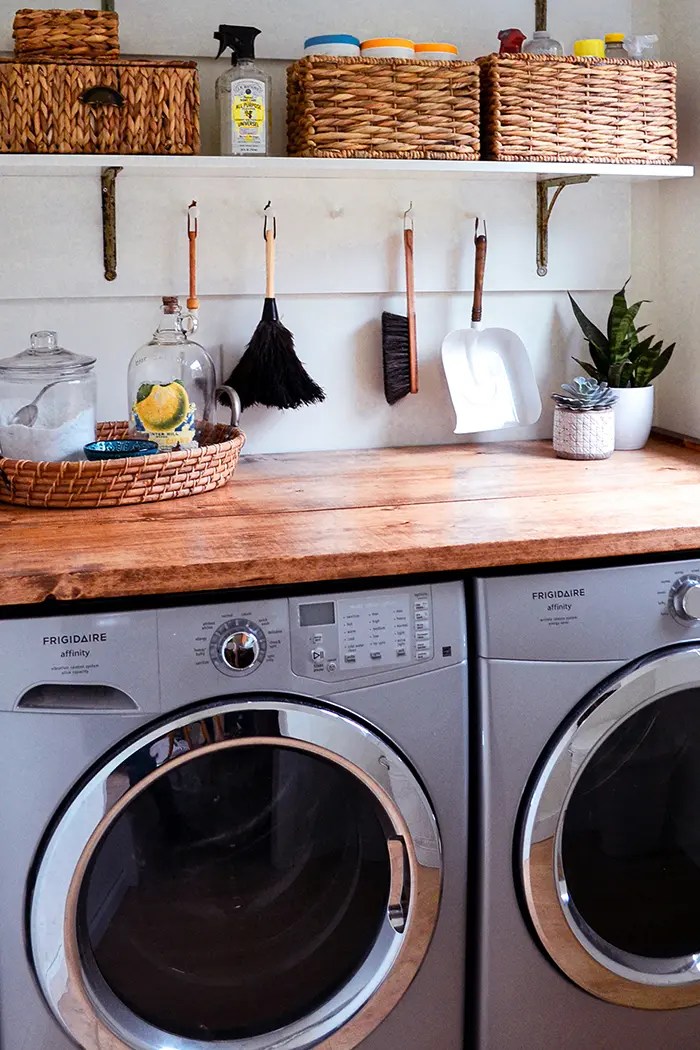
Easy Diy Wood Laundry Room Countertop For Folding

Diy Waterfall Butcher Block Washer Dryer Counter We The Dreamers

Diy An Oversized Table For The Laundry Room Under 100 Major Hoff Takes A Wife

Diy Waterfall Butcher Block Washer Dryer Counter We The Dreamers

Build A Laundry Folding Table Over Your Washer And Dryer

Diy An Oversized Table For The Laundry Room Under 100 Major Hoff Takes A Wife

Diy Countertop For Less Than 40 Laundry Folding Table Build

Diy Waterfall Butcher Block Washer Dryer Counter We The Dreamers

Diy Waterfall Butcher Block Washer Dryer Counter We The Dreamers

Diy Wood Laundry Room Countertop Love Renovations

